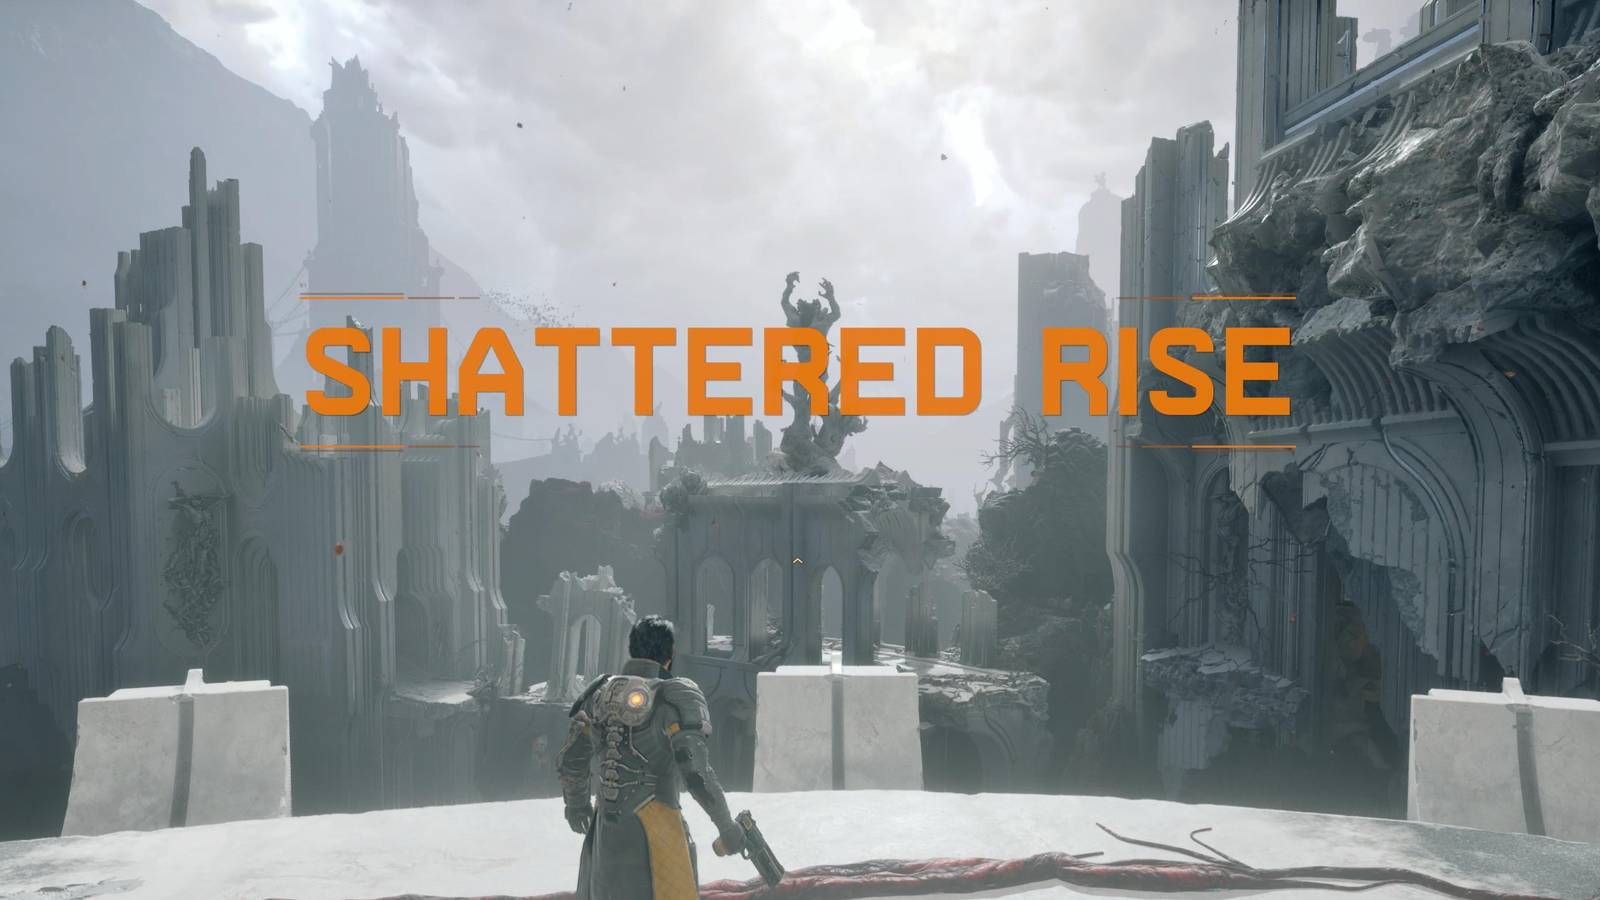
Housemarque has returned with Saros, a spiritual successor to Returnal that in many ways carries its predecessor’s difficulty, including a brutal, unforgiving introductory biome. The sci-fi action roguelite’s first area is called Shattered Rise, a mountainous region of the mysterious planet Carcosa that will teach you the game’s basics while introducing the first handful of skill checks.
Saros‘ so-called bullet ballet gameplay is directly descended from Returnal‘s, but it crucially introduces an energy shield that can absorb power from certain projectiles. Much of Shattered Rise feels designed to get you used to using the shield, regardless of whether you have experience with Housemarque’s last game. Despite being the opening level, Shattered Rise can feel like a punishing biome, so there are a handful of tips and strategies below to help you get to Saros‘ first major boss, the Prophet.
Shattered Rise Enemies & How To Fight Them

The first thing to keep in mind when starting Saros in Shattered Rise is that dying is part of the intended experience, even when fighting regular, non-boss enemies. Every cycle has the chance to take you to new rooms and introduce new enemy types, and learning the layouts and enemies of Shattered Rise is important to getting through prepared to face the boss.
Here’s a list of enemies you’ll find in Shattered Rise and a short description of their behavior and how to deal with them:
-
Custodian
- Fires slow-moving, blue projectiles (corrupted after eclipse), and often try to slowly close distance in groups
- Mostly fodder, but can complicate fights when shielded
-
Guardian
- Stationary, sometimes shielded
- Useful to take out first so you can begin kiting other enemies
-
Flexion
- Flies, fires homing projectiles
- Flexions can appear suddenly and unexpectedly, so listen for their telltale shriek
-
Vessel
- Flies in packs, explodes in your vicinity
- Always kill Vessels first, before they can close the gap and deal a lot of damage
-
Eclosion
- Very fast, spawns pods
- Target pods first, then close in on the Eclosion, which can’t attack by itself
-
Osteomaw
- Very fast, charges to attack from close range
- Osteomaws have a lot of health, so they’re best kited around the arena as you deal with other threats first
-
Sunflayer
- Mini-boss, wide range of attacks
- Keep your distance and use cover, shielding when it fires blue projectiles so you can retaliate with Prominence (pull L2 all the way down, then fire)
Once you get a handle on Saros‘ combat, the Shattered Rise enemies become rather forgiving – they move predictably, have simple projectile patterns, and their attacks move relatively slowly. In practically every Shattered Rise encounter, try keeping as much distance as possible. You’ll have plenty of time to see attacks coming, and there are loads of walls to take cover behind. As a general rule, you do not want to stand still in combat – the lock-on system is very generous, so you should focus on dodging attacks while shooting near-constantly.
Your overall goal is to refine your strategy in each room so that you can make it to the boss with as much health as possible, and with as high of an adrenaline level as you can achieve, both of which require taking no damage. Repeated Shattered Rise cycles are also a great opportunity to train your muscle memory with regard to Saros‘ shield; if you see blue projectiles coming at you, hold R1 to absorb them. After absorbing enough blue projectiles, you can unleash power weapon attacks (in Shattered Rise, you’ll only have Prominence), which are key to taking down mini-bosses and the Prophet.
Which Items To Take In Shattered Rise

Both a blessing and a curse, your weapon options in Shattered Rise are limited to just four guns: Ricochet Handcannon, Eruptor Handcannon, Tactical Rifle, and Smart Rifle. All four are serviceable, so picking between two is largely up to personal preference (I’ve had a lot of luck with the Eruptor Handcannon), unless one’s prestige level is quite a bit higher than the other. As you invest in the Armor Matrix skill tree, you’ll get access to higher-level guns, and you should always seriously consider taking one that is a few levels higher than your equipped one, even if it’s not your favorite.
Grabbing artifacts in Shattered Rise is similar. You can hold 10 total at the beginning of Saros, but you’ll rarely run out of inventory space in the first biome, so you should almost always take them, unless one has a particularly unsavory debuff (lowering maximum integrity/health is inadvisable if you’re trying to fight the Prophet, and I personally dislike my dash cooldown time being increased). The only other time you should skip taking an artifact is if you plan on running through the whole biome after activating the eclipse, which may not always be necessary.
How The Eclipse Works In Saros’ First Biome (& How To Take Advantage Of It)

A key point of Saros‘ design to understand if you want to overcome Shattered Rise is how the eclipse works. Roughly halfway through the first biome, you will always come to a large, ruined hall where the only way forward is to be grabbed by some ethereal hands sticking out of a portal in the ground (they remind me of the Gloom Spawn in Tears of the Kingdom). Once the eclipse begins, Carcosa comes alive, enemies deal more damage, they fire corrupted projectiles, you can find potentially better artifacts, and your Lucenite gains will increase.
Until you unlock the boss room shortcut, you always have to play through the eclipse section of Shattered Rise. The strategy here is much the same since you’re fighting the same enemy variants – keep your distance, kite certain foes, stay mobile, and use cover where possible. Once you unlock the boss room shortcut, the eclipse section becomes largely optional, and will be your first taste of how deeper build crafting works in Saros.
At first, it’s recommended to continue playing through eclipse rooms for the increased Lucenite. If you’re struggling with the Prophet, your goal should be to unlock every possible node in the Armor Matrix. When that’s done, and your sole goal is to defeat the Prophet, the eclipse section becomes a gamble for better gear. You can either skip most of it and fight the boss with your existing items, or risk gaining corruption (which temporarily lowers your max integrity) to hopefully get some powerful artifacts.
Fire your power weapon to get rid of corruption.
Repeatedly running through the same rearranged biome, it can start to feel like no progress is being made in Saros, but strategy refinement is much more important than tangible progression. Always focus on avoiding damage, and – at least in Shattered Rise – always take incremental item improvements. The first biome is largely designed to get you acquainted with how Saros is supposed to be played, and there are almost always new collectibles to string the story along as you work toward that perfect Shattered Rise run that lets you beat the Prophet.

- Released
-
April 30, 2026
- ESRB
-
Teen / Blood, Language, Mild Suggestive Themes, Violence
- Developer(s)
-
Housemarque
- Publisher(s)
-
Sony Interactive Entertainment
- Engine
-
Proprietary